3.4.2 Creating the VM on Microsoft Hyper-V
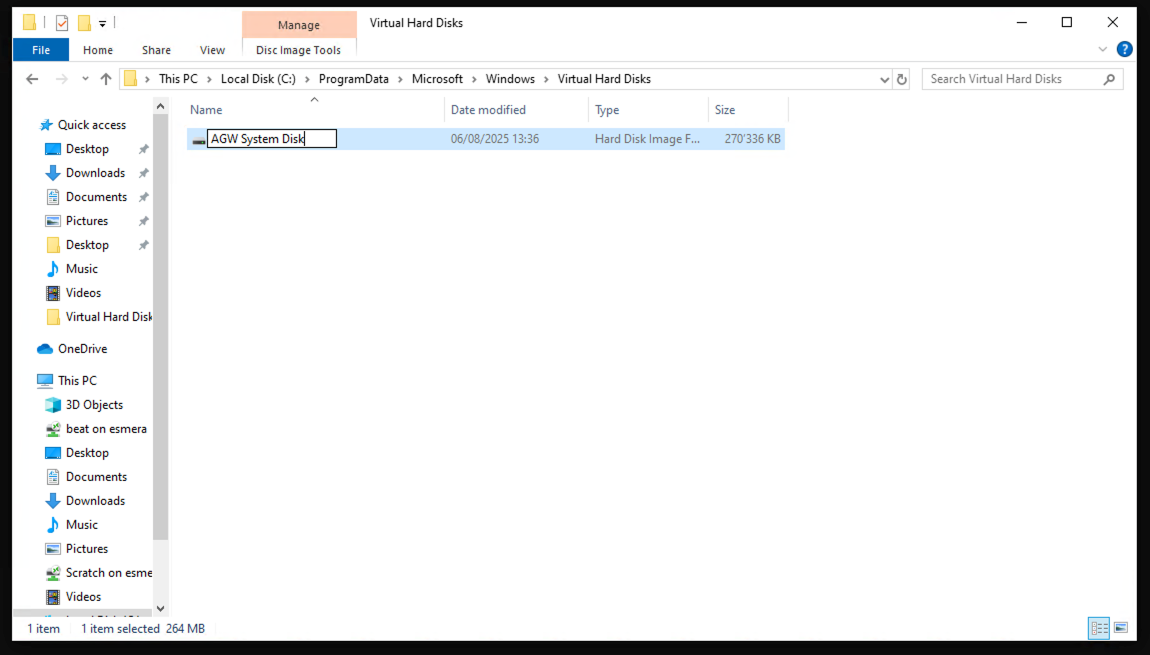
The disk image from the download goes into the Hyper-V virtual disks folder. We recommend naming it AGW System Disk.vhdx:
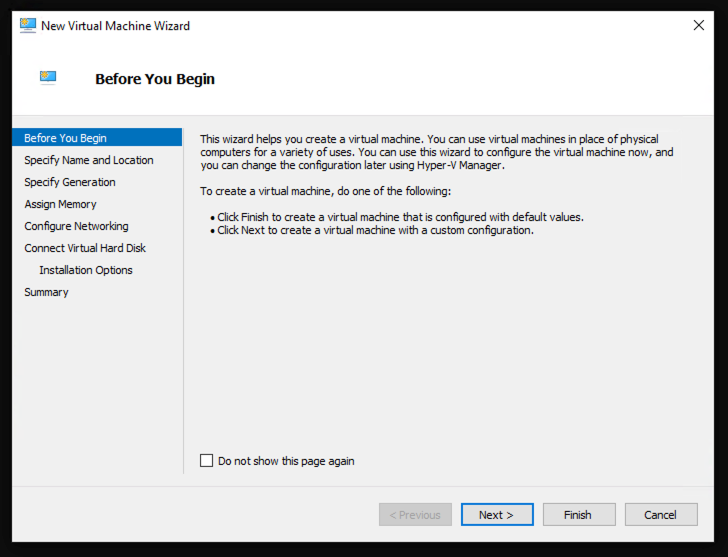
We create the VM using the New Virtual Machine Wizard:

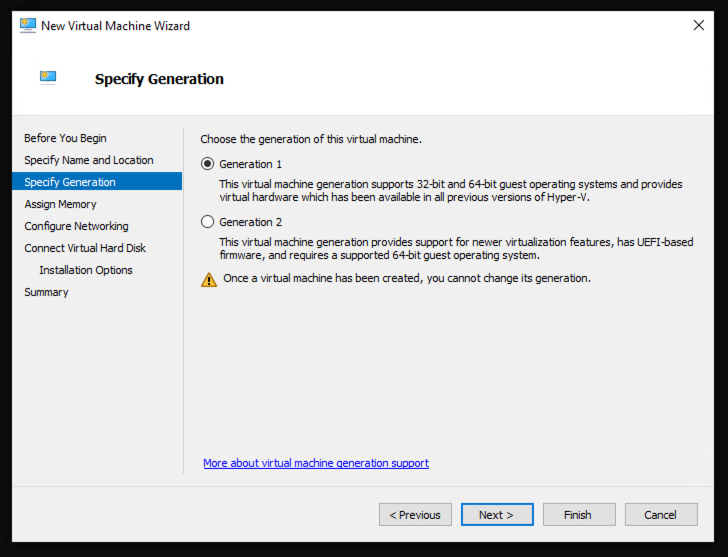
The appliance requires Generation 1:
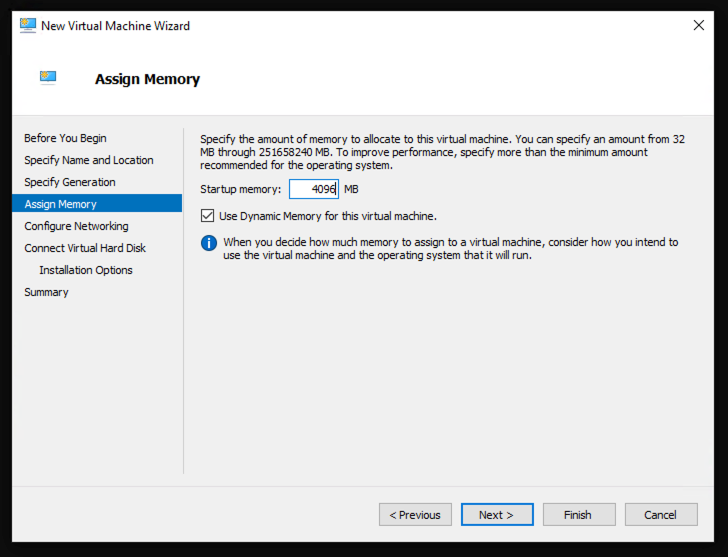
We recommend 4G of memory:
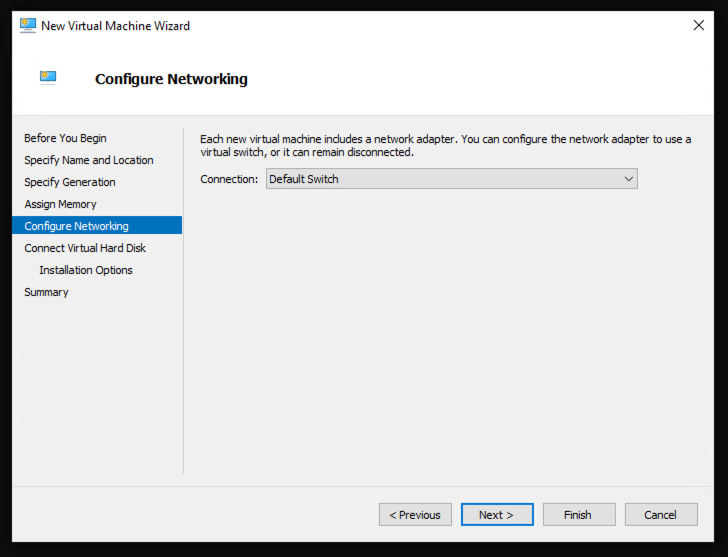
The VM must be placed in the predefined VLAN according to the network configuration:
As the first virtual disk, we select the previously stored disk image:

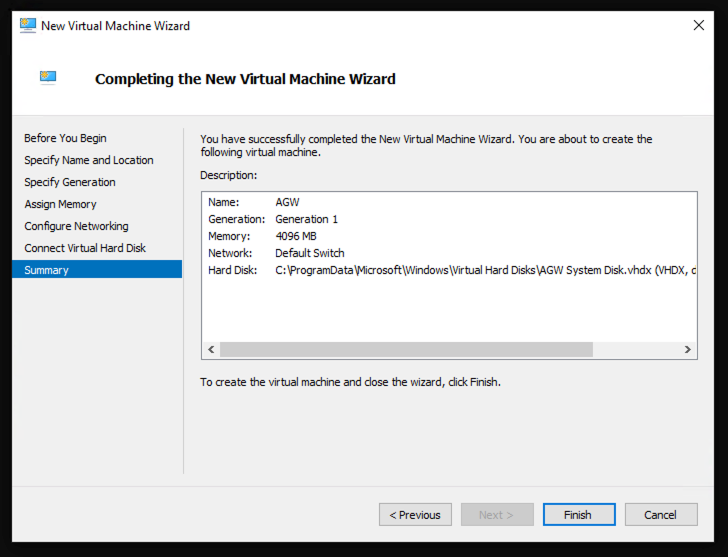
Confirm settings:
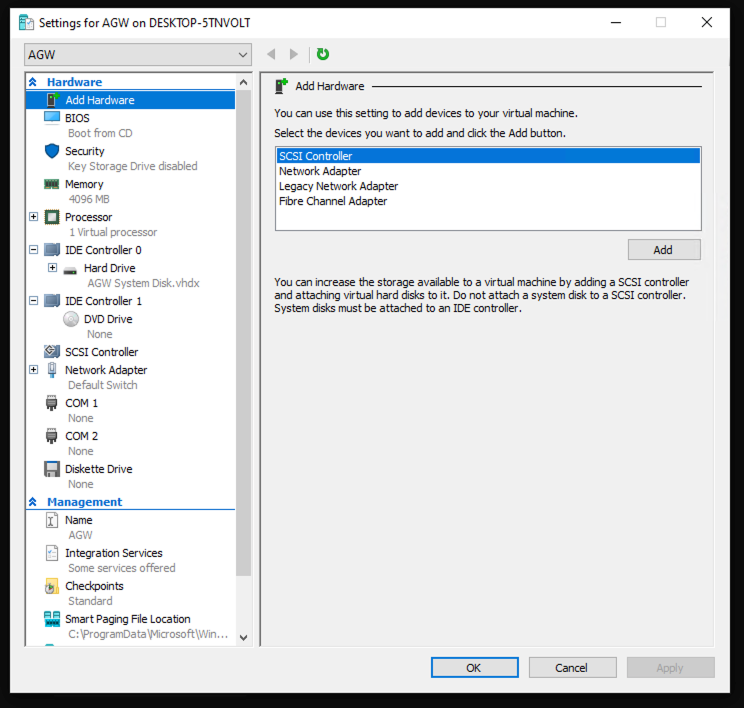
The wizard creates a basic VM, which must be customised via the settings:
We recommend setting the number of CPUs to four:

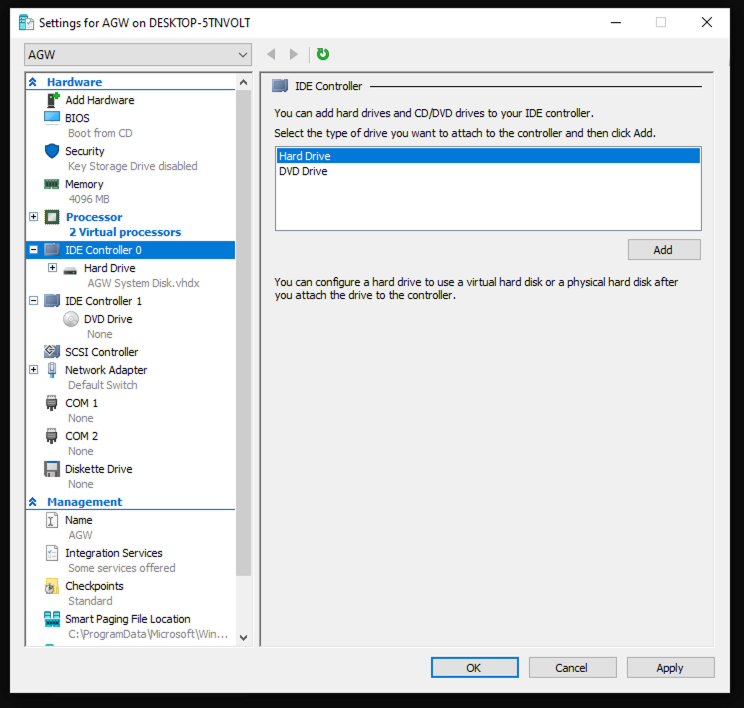
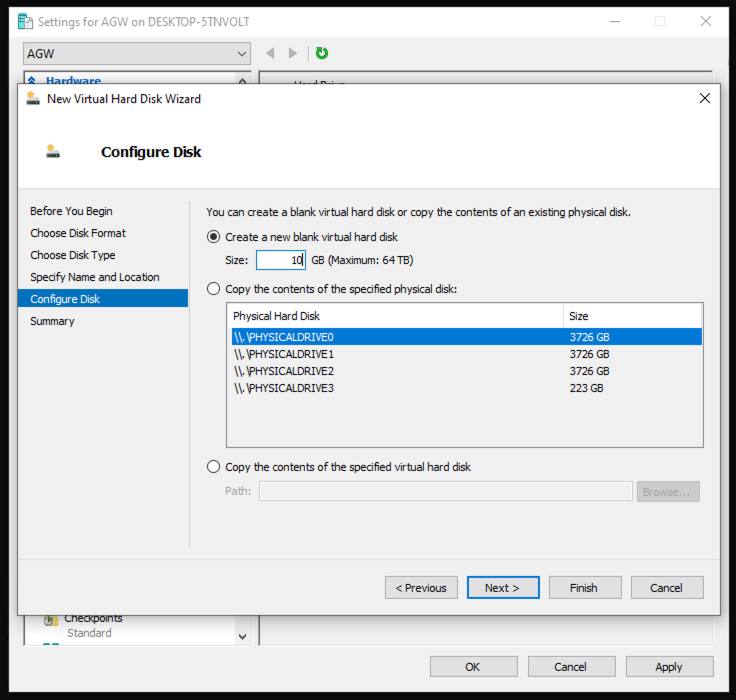
We create the second disk for the log data separately. Depending on the VM generation, we select an IDE disk:
Confirm settings:

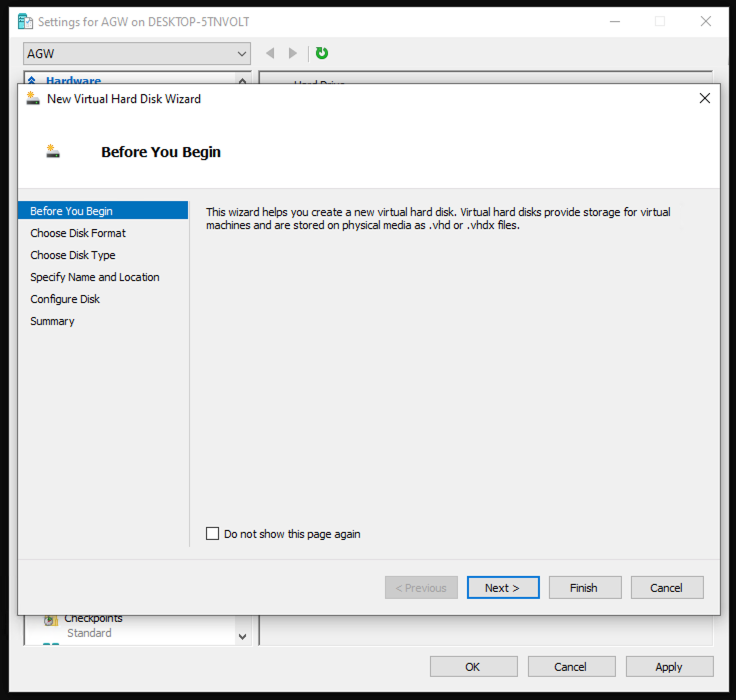
The New Virtual Disk Wizard is started:
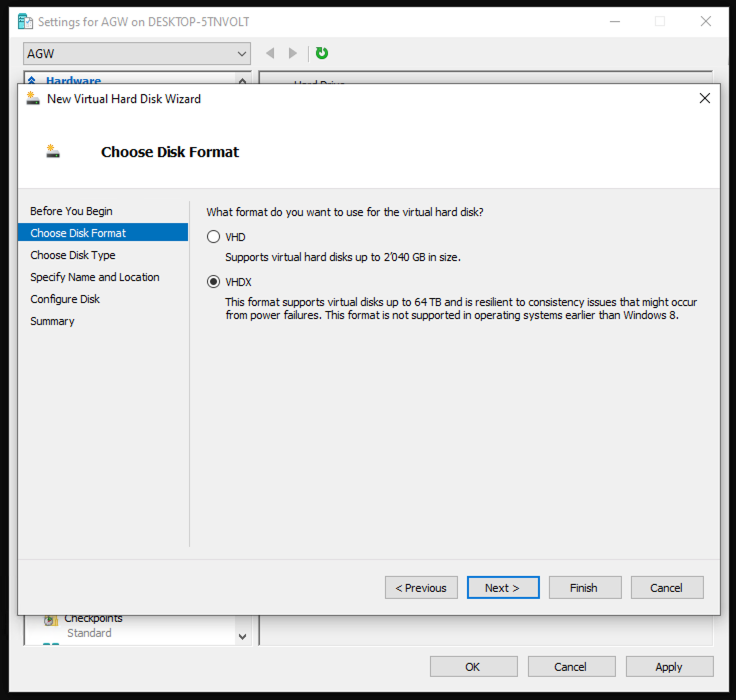
We select VHDX as the format:
Dynamic allocation:

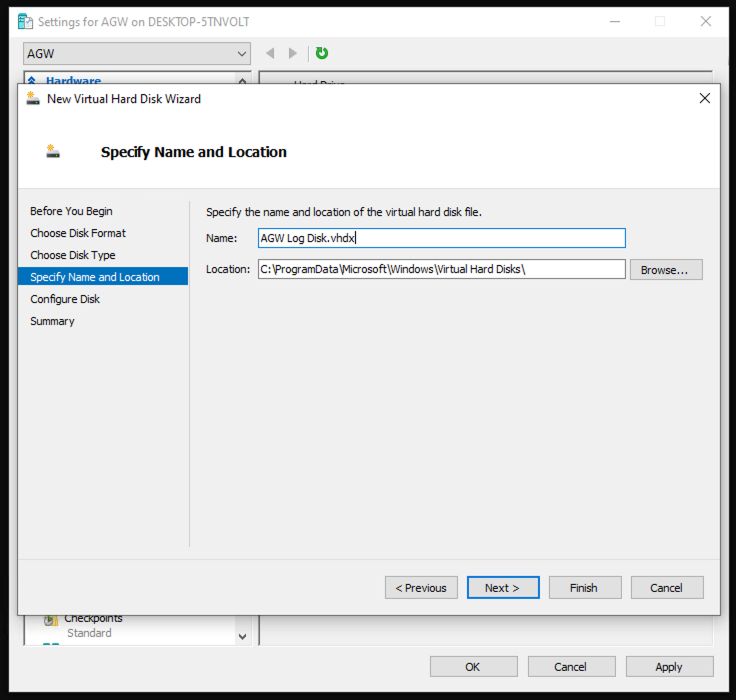
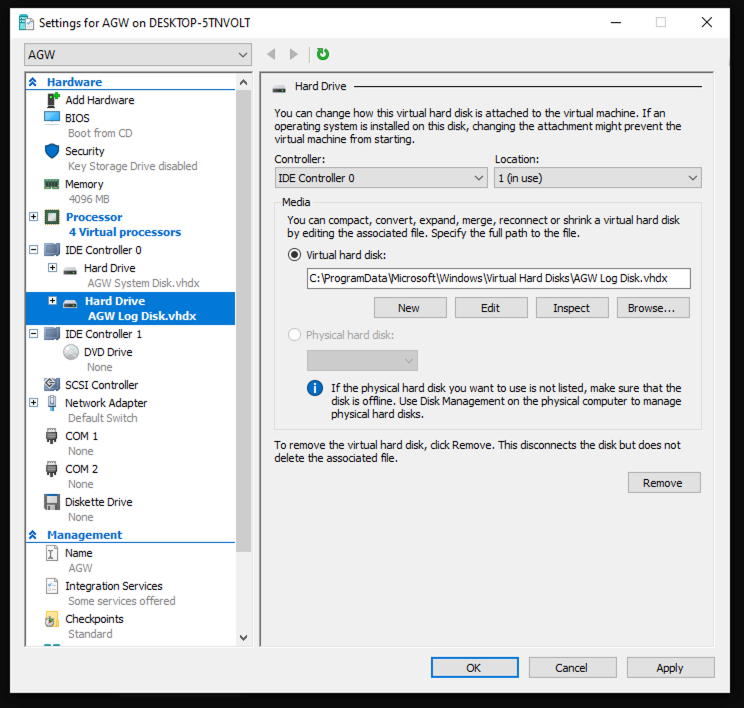
We choose a name that clearly identifies the task as log storage:
We set the size to 10 GB:
We close the wizard with a confirmation:

We confirm the VM settings:
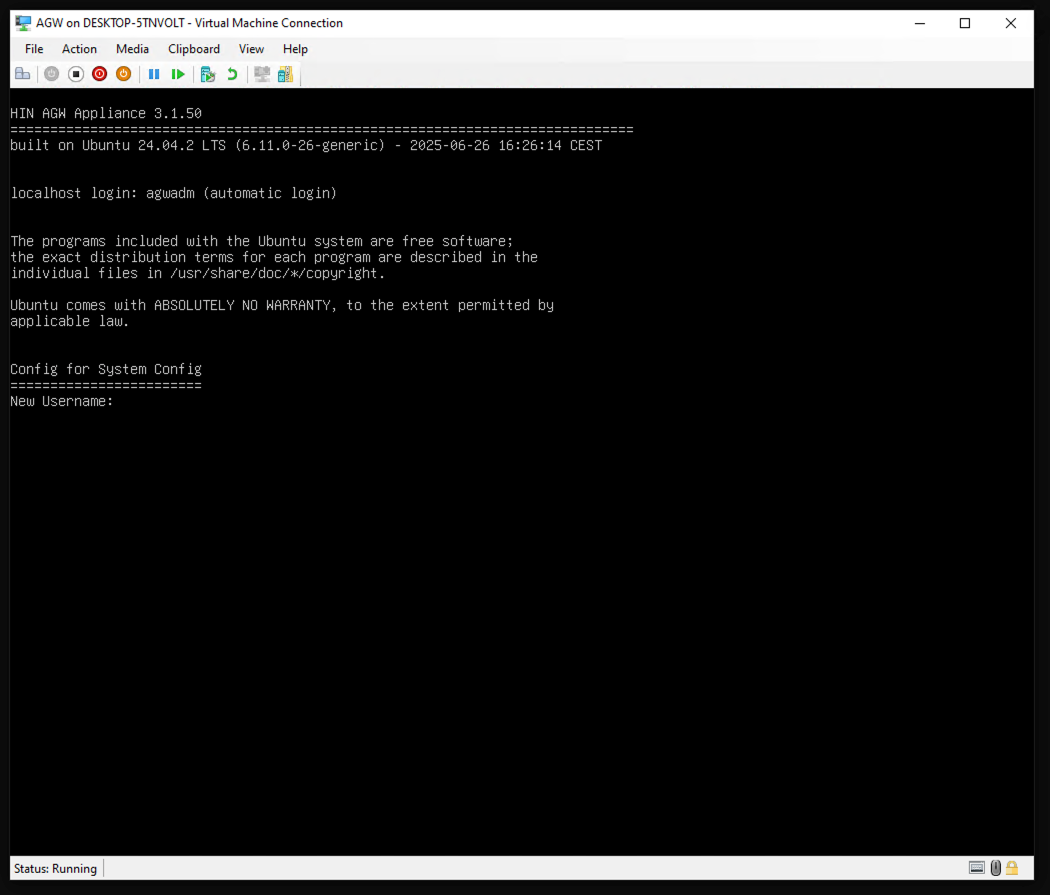
The connection to the VM opens the console, which allows the VM to be started:
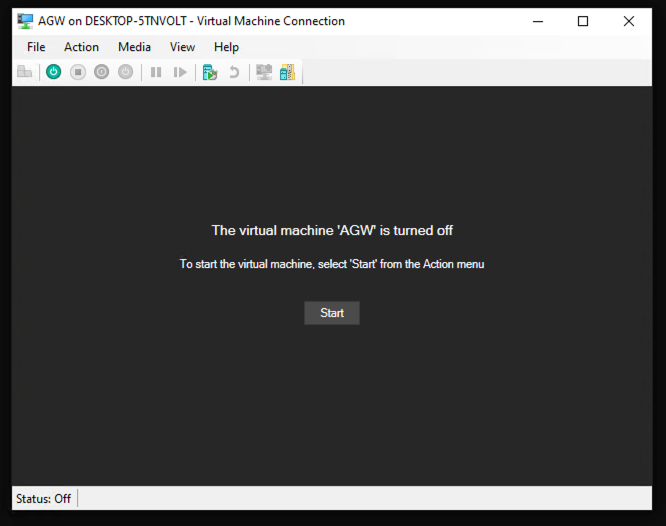
The basic settings are made during the first start: